
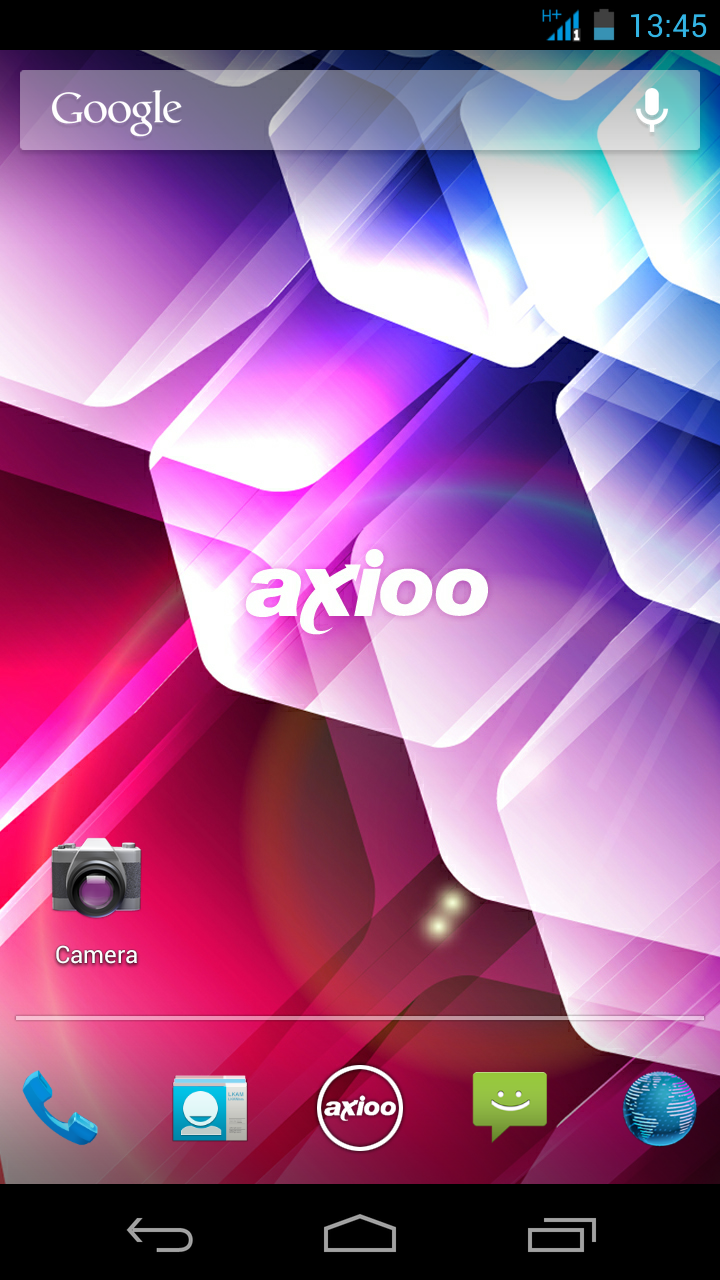
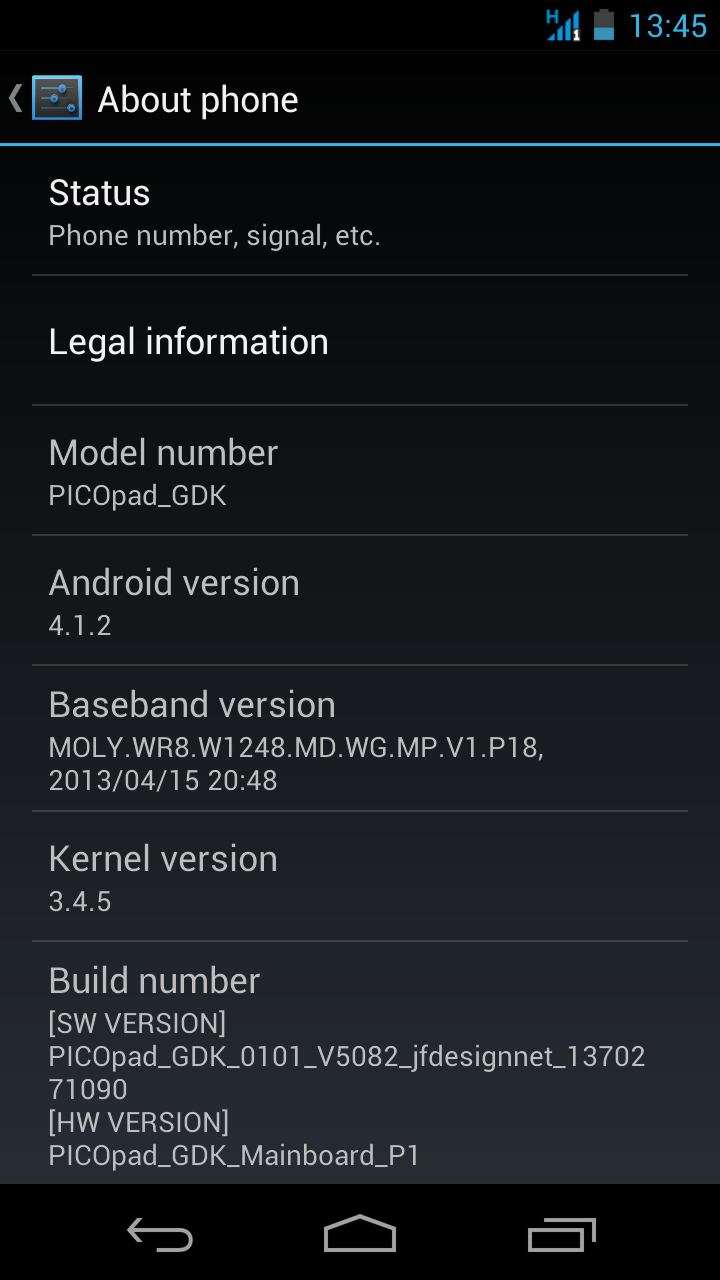
This is a custom rom for quadcore MTK6589 axioo PICOpad GDK-GDS model which is totally different with the PICOpad GDK model that still using single core MTK6575. The model name is a little confusing, so please be really careful not to flash the wrong custom rom for your device. Here is the capture from the about page of the device and the photo look :

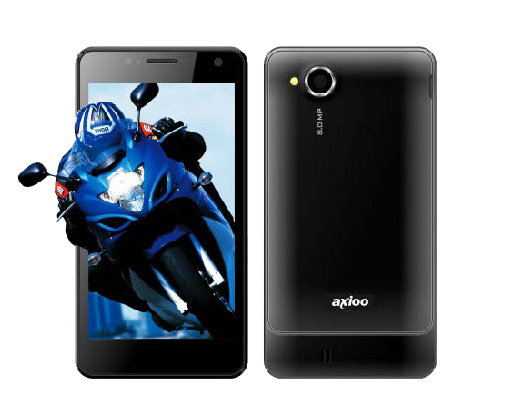
So, once again, please be careful not to mix up this PICOpad GDK-GDS with PICOpad GDK model, alright ?
Ok, now let’s talk about the custom rom. Honestly, this custom rom is not a way too different with the axioo stock rom, all optimization and some tweak performance already included during customization phase so the overall performance and benchmark will show almost the same value with this custom rom, sooo … if you’re looking for performance boost, you are wasting your time, just stick with your stock rom.
I’m creating (re-porting to be exactly) this custom rom as a helper for my fellow friend who actually begin to learning about porting and creating a rom for their own device. To avoid unnecessary distraction, i omit all additional package and all bloatware application, this is just plain simple rom with minimal google apps as complementary. Eventhough this is just a minime version from the stock rom, there is also another advantage you cannot found on the stock rom, which is, this rom is rooted, has been zip-aligned, optimize & de-odexed all the apks, and of course … the most important weapon for linux … busybox and bash.
Here is the features :
- Android 4.1.2 with 3.4.5 kernel
- Rooted, busybox, fully deodexed, zipaligned
- rooted boot.img
- init.d support + more tweak
- Superuser by Clockworkmod (thanks to Koush)
- entropy generator tweak (thanks to lambgx02)
- Removed unnecessary and bloatware apps
- … something i forgot to list
And here we go the custom rom :
Download : PICOpad_GDK_GDS_signed_060513_143348
MD5 : 5be0eb455e91601d4f9045047e161dec
And here is the steps to flash this custom rom :
Requirement and Preparation :
- Read this thoroughly :
Your warranty is now void !!!
I am not responsible if you brick your phone, get stuck in a bootloop, or if your phone grows arms and tries to kill you. Flash at your own risk!
Please do some research if you have any concerns about risk of flashing a custom rom before continuing! YOU are choosing to make these modifications, and if you point the finger at me for messing up your device, I will laugh at you!!
If you have any other objection, don’t bother to comment, just close this page! - This custom rom need a custom recovery to flashed into the device, if you haven’t got it, get it here : TWRP and CWM recovery PICOpad GDK-GDS. Both are working good for this device, get it whichever you like.
Flashing Process :
The steps to flash this custom rom is pretty straight forward :
- Download the custom rom from link above and copy it to the root of your sdcard, you may check it first with your file manager to confirm it was there. There are two sdcard storage on this device, so you must know it’s at the internal sdcard or external sdcard. I prefer you to put this on external sdcard to avoid any difficulties.
- Boot into recovery mode by turning off your phone, hold down Volume + button then press power button, hold them both until you see axioo logo on screen then release it. Wait a sec or two … then you’ll be in recovery mode.
- BACKUP your stock rom and data using BACKUP feature, make sure you use external storage as destination because this backup is relatively big.
- Choose Wipe Data / Factory reset and execute it.
- Choose Wipe cache partition and execute it
- Choose Wipe Dalvik Cache and execute it
- Go back to main menu, and choose Install
- It will open a list of file on your sdcard, choose the custom rom zip file that you put on step 1 and flash it.
- After the installation completed, choose Reboot System
- Done
Here is the result after flash :


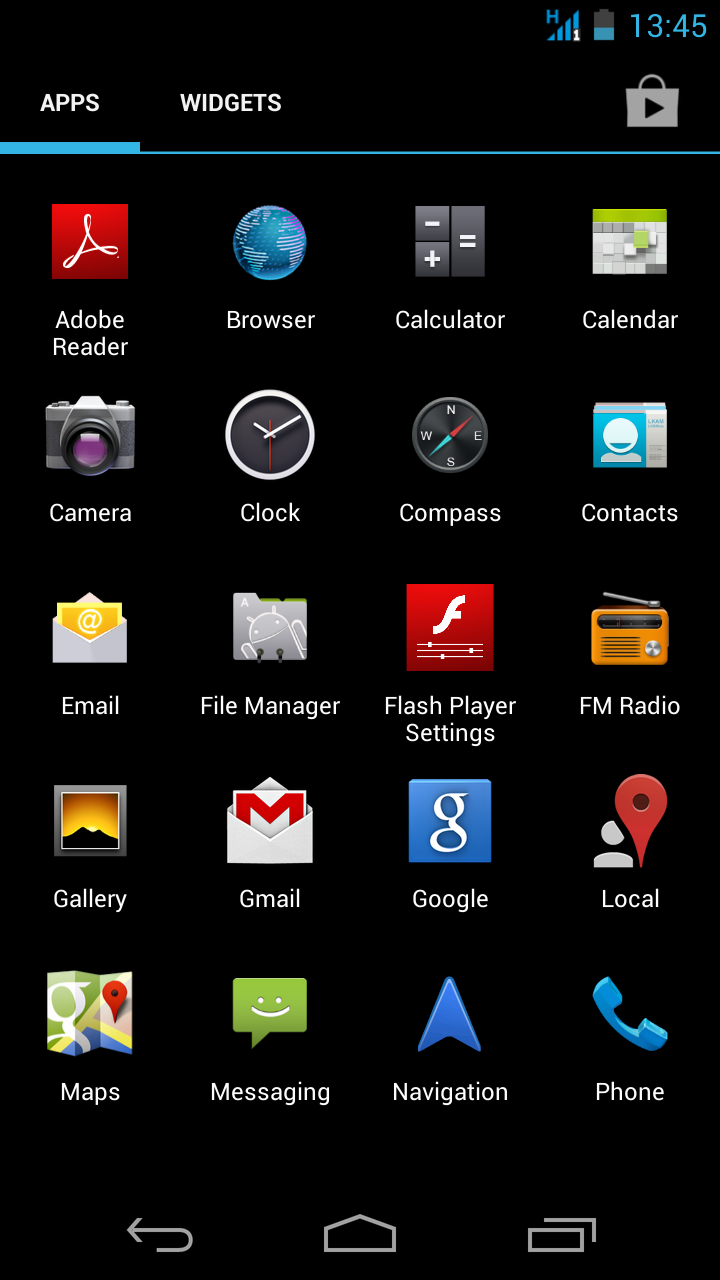
Enjoy your minime custom rom version on your PICOpad GDK-GDS !