

It’s pretty easy to re-porting my custom rom 4.2.2 for PICOpad GGT2 to Paranoid Android 4.3.1 after solving all the device drivers and configs. Here is the 4.3.1 ParanoidAndroid version 3.99-RC2 with pure API SDK 18. Still using the same source as before, which is CTroy build … thanks to CTroy.
Features :
- Android 4.3.1 with 3.4.0+ kernel
- Rooted, busybox, fully deodexed, zipaligned
- init.d support + minor build.prop tweaks
- all peripherals working : cams, wifi, bt, accelerometer, etc.
- 4k Video Accelerator Capable
- ParanoidAndroid 3.99-rc2 base (thanks to ctroy)
- ParanoidAndroid rom base (thanks to paranoidandroid-team)
- Xposed framework (thanks to rovo89 and Tungstwenty)
- … something I forgot to list
Here we go the custom rom :
Download :
ROM : picopad_ggt2_pa_signed_021614_220534.zip
MD5 : c2b4822bbfc8d3fe4c24894d3b78909a
Gapps : gapps-jb-20130813-signed.zip
MD5 : 1f51b5cc6370c1f45dc951109b6ce6ed
And here is the steps to flash this custom rom :
Requirement and Preparation :
- Read this thoroughly :
Your warranty is now void !!!
I am not responsible if you brick your phone, get stuck in a bootloop, or if your phone grows arms and tries to kill you. Flash at your own risk!
Please do some research if you have any concerns about risk of flashing a custom rom before continuing! YOU are choosing to make these modifications, and if you point the finger at me for messing up your device, I will laugh at you!!
If you have any other objection, don’t bother to comment, just close this page! - This custom rom need a custom recovery to flashed into the device, if you haven’t got it, get it here : cwm recovery for PICOpad GGT2.
Flashing Process :
The steps to flash this custom rom is pretty straight forward :
- Download the custom rom zip and gapps file from link above and copy both to the root of your sdcard, you may check it first with your file manager to confirm it was there. There are two sdcard storage on this device, so you must know it’s at the internal sdcard or external sdcard. I prefer you to put this on external sdcard to avoid any difficulties.
- Boot into cwm recovery mode. I believe there are no key shortcut (at least i cannot find it) for this model to enter the recovery mode from off position. So you have to use quickboot apk (it needs root) to enter the recovery mode. If you’re using my cwm recovery mode : cwm for PICOpad GGT2, it’s easy. I already include the quickboot apk into it, so all you have to do is launch quickboot and choose Boot into Recovery from the menu.
- After entering the recovery mode, DON’T FORGET to do BACKUP !!! BACKUP your stock rom and data using BACKUP feature, make sure you use external storage as destination because this backup is relatively big. If something bad happen you can go back to your previous rom easily by doing Restore backup feature. You’ve been warned.
- Choose Wipe Data / Factory reset and execute it.
- Choose Wipe cache partition and execute it
- Choose Wipe Dalvik Cache and execute it
- Go back to main menu, and choose Install
- It will open a list of file on your sdcard, choose the custom rom zip file that you put on step 1 and flash it.
- After the ROM installation completed, choose back to main menu to install gapps
- Select gapps file you copied on step 1 and flash it
- After gapps installation completed, choose Reboot System
- Done
Here is the result after flash :


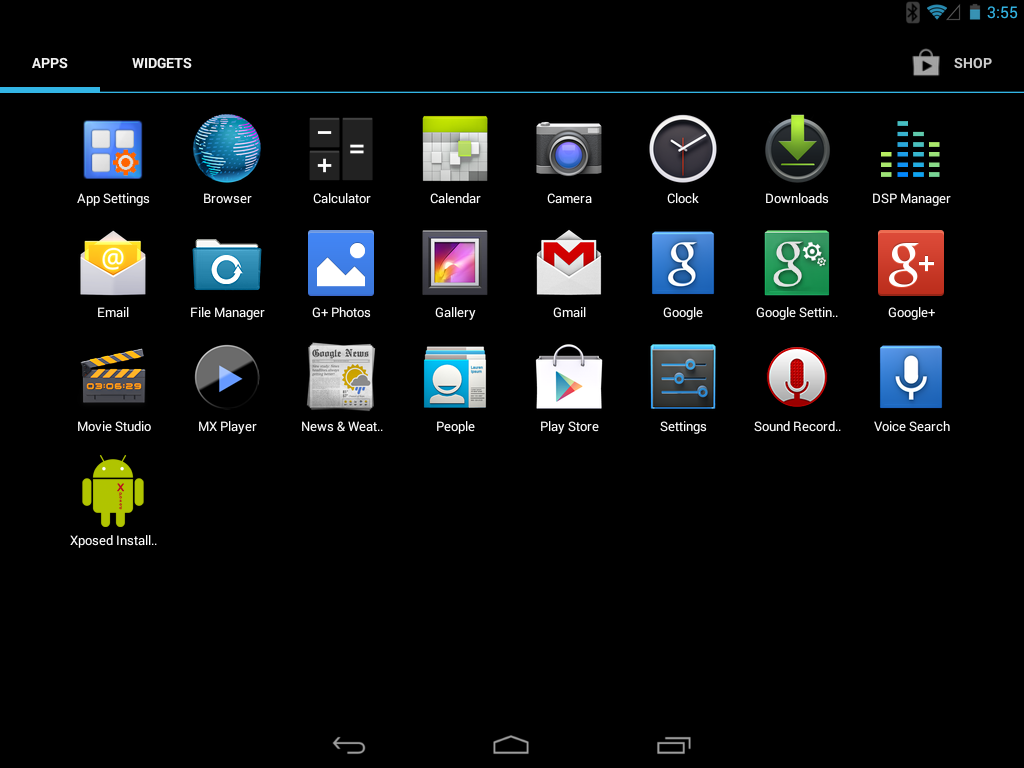
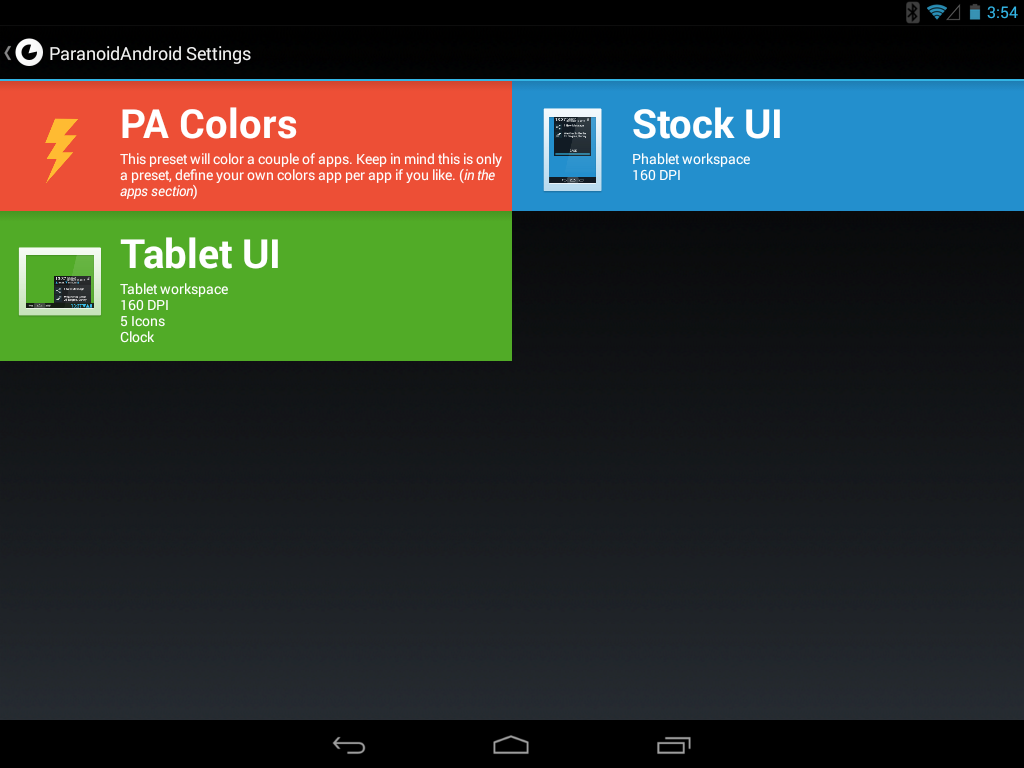
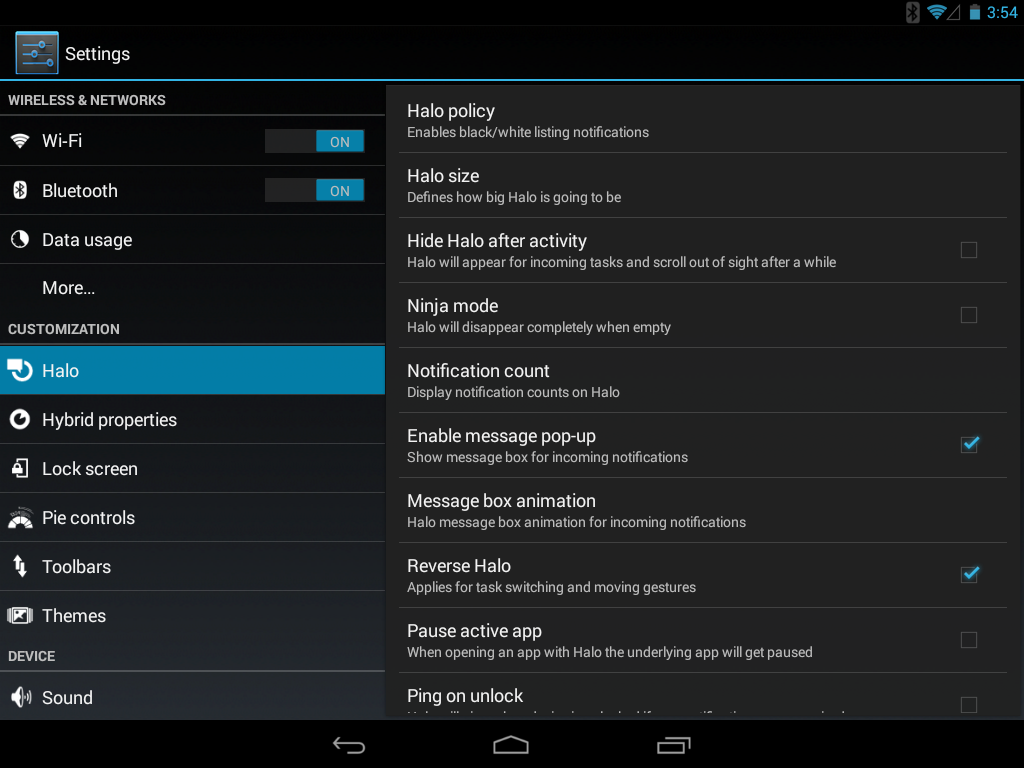
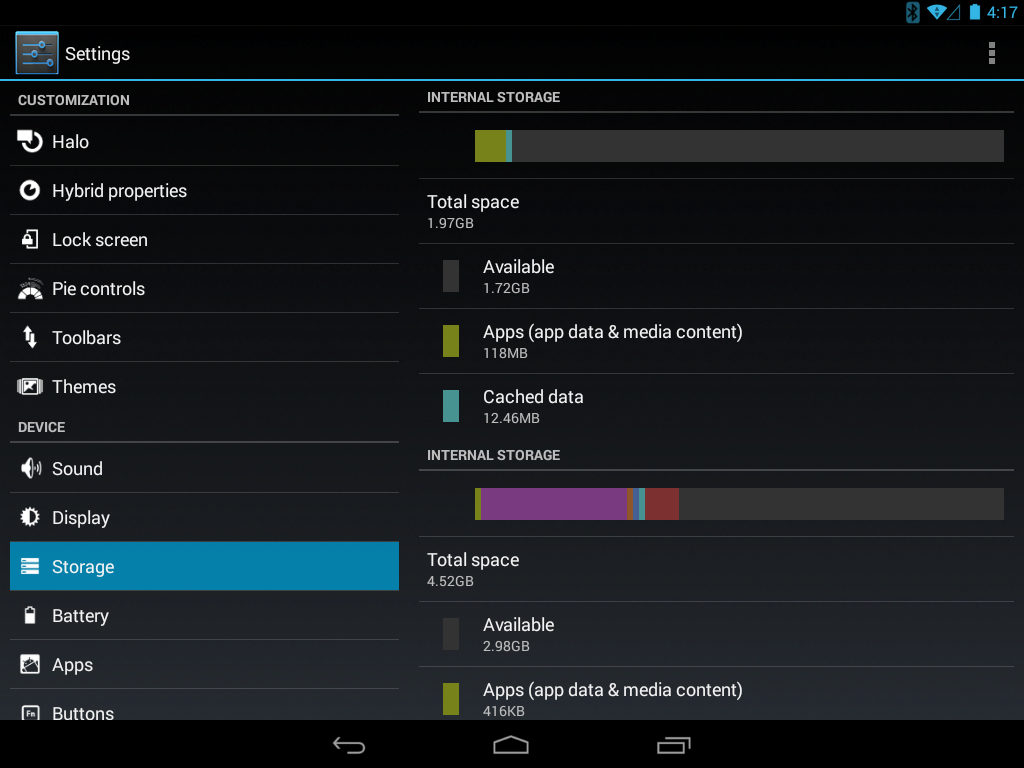
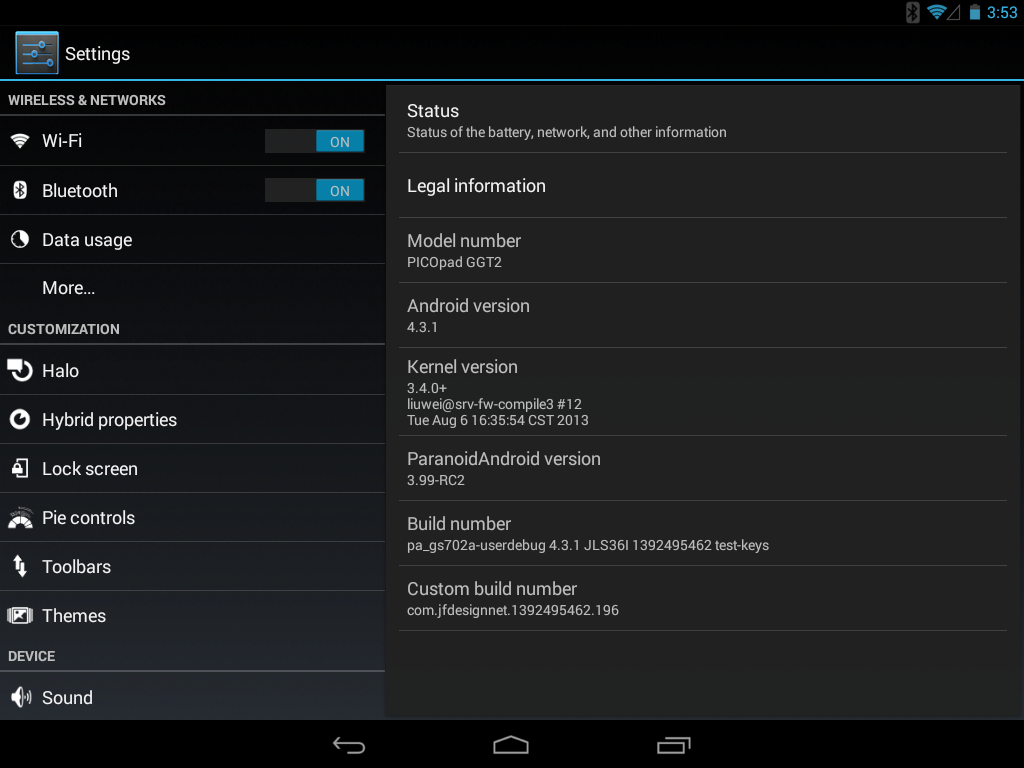
Enjoy your PICOpad GGT2