

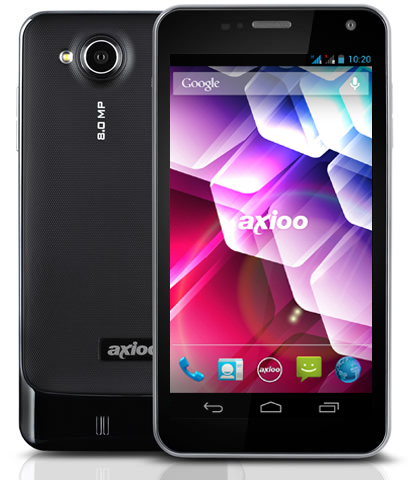
Here we go, i build again another rom for PICOpad GDS, it’s pretty much the same with my before custom rom, only this is pure jelly bean 4.2.2 version. The user interface and the features are exactly the same with before, so consider this as an upgrade.

Features :
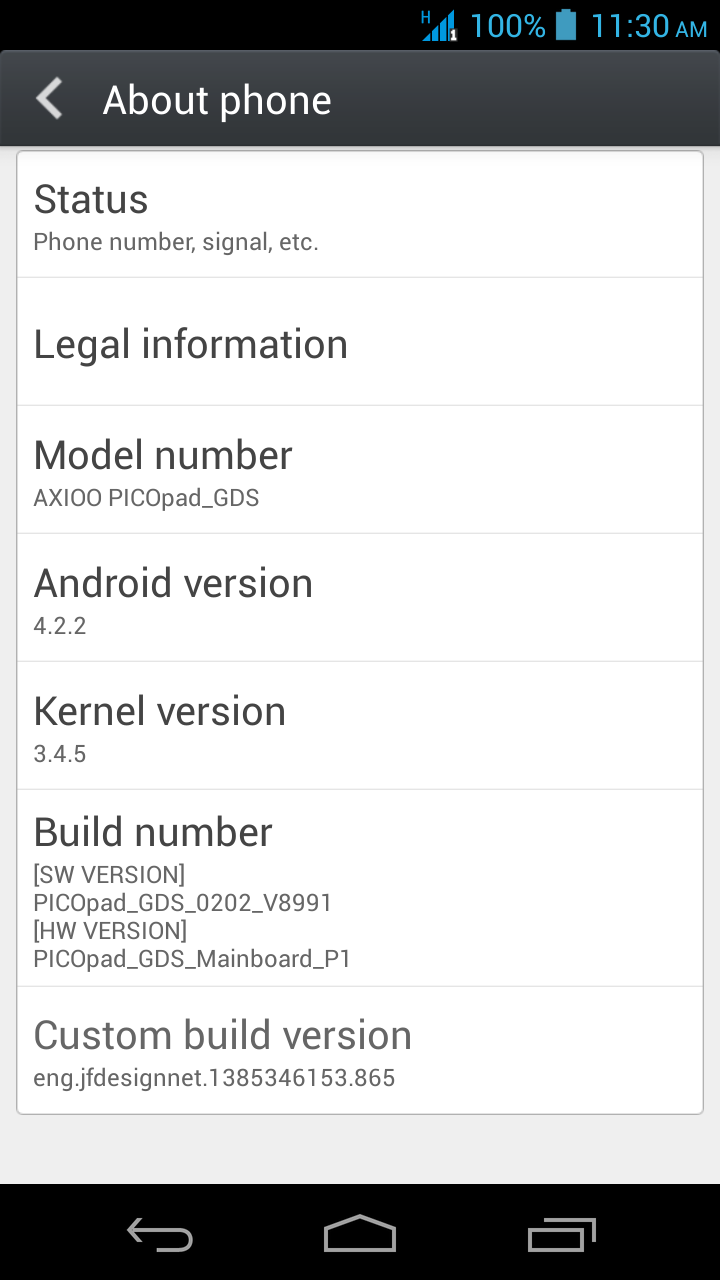
- Android 4.2.2 with 3.4.5 kernel
- Rooted, busybox, fully deodexed, zipaligned
- rooted boot.img
- init.d support + busybox run parts
- gps, bt, hsdpa tweak
- more languages
- Superuser by Clockworkmod (thanks to Koush)
- entropy generator tweak (thanks to lambgx02)
- Xposed framework (thanks to rovo89 and Tungstwenty)
- GravityBox customization module (thanks to C3C076)
- … something i forgot to list
Here we go the custom rom :
Download : PICOpad_GDS_signed_112513_130859.zip
MD5 : bf58b7a6d04aaa2b2a4c2d7b177aea24
EDIT 171213 :
I fix the APN setting force close issue and remove flaky dts sound space module. Without it and using MusicFx equalizer settings by google, it perform overall better.
Download : PICOpad_GDS_4.2.2_signed_121713_112142.zip
MD5 : e2d645a8f35039b0392951cbd0d23053
And here is the steps to flash this custom rom :
Requirement and Preparation :
- Read this thoroughly :
Your warranty is now void !!!
I am not responsible if you brick your phone, get stuck in a bootloop, or if your phone grows arms and tries to kill you. Flash at your own risk!
Please do some research if you have any concerns about risk of flashing a custom rom before continuing! YOU are choosing to make these modifications, and if you point the finger at me for messing up your device, I will laugh at you!!
If you have any other objection, don’t bother to comment, just close this page! - This custom rom need a custom recovery to flashed into the device, if you haven’t got it, get it here : cwm and twrp recovery for PICOpad GDS. Both are working good for this device, get it whichever you like.
Flashing Process :
The steps to flash this custom rom is pretty straight forward :
- Download the custom rom from link above and copy it to the root of your sdcard, you may check it first with your file manager to confirm it was there. There are two sdcard storage on this device, so you must know it’s at the internal sdcard or external sdcard. I prefer you to put this on external sdcard to avoid any difficulties.
- Boot into recovery mode by turning off your phone, hold down Volume + button then press power button, hold them both until you see axioo logo on screen then release it. Wait a sec or two … then you’ll be in recovery mode.
- BACKUP your stock rom and data using BACKUP feature, make sure you use external storage as destination because this backup is relatively big.
- Choose Wipe Data / Factory reset and execute it.
- Choose Wipe cache partition and execute it
- Choose Wipe Dalvik Cache and execute it
- Go back to main menu, and choose Install
- It will open a list of file on your sdcard, choose the custom rom zip file that you put on step 1 and flash it.
- After the installation completed, choose Reboot System
- Done
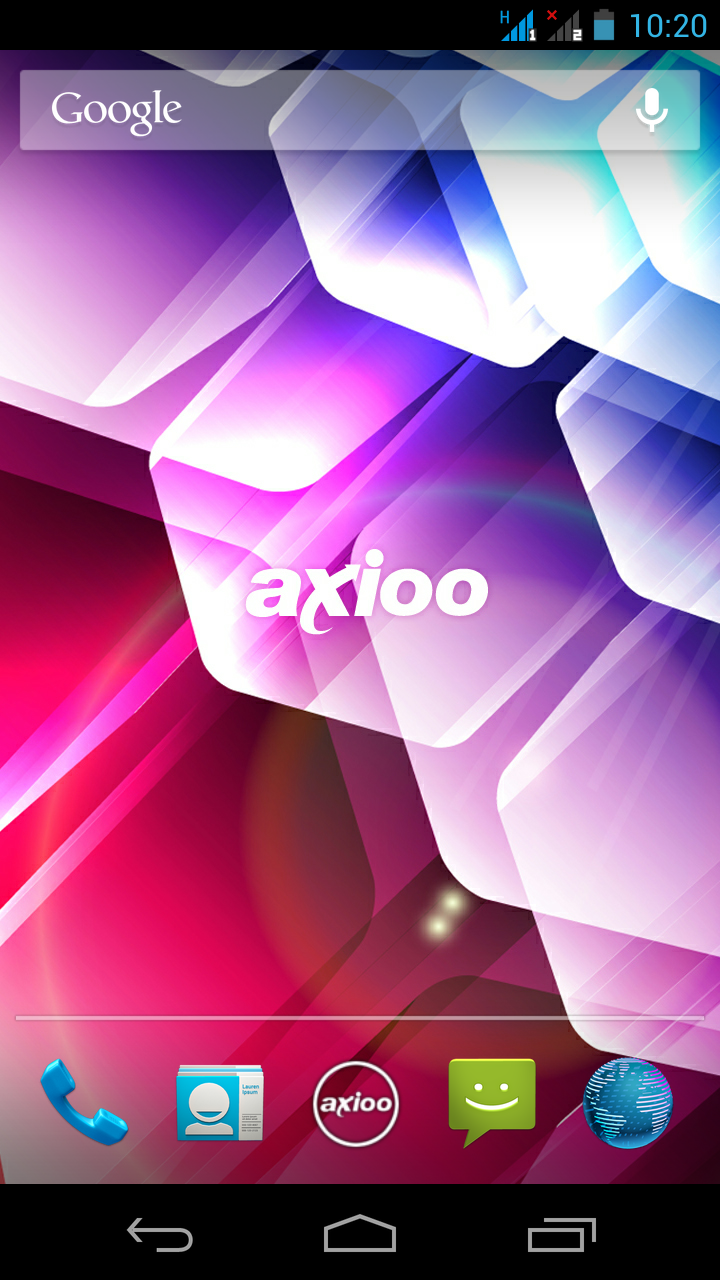
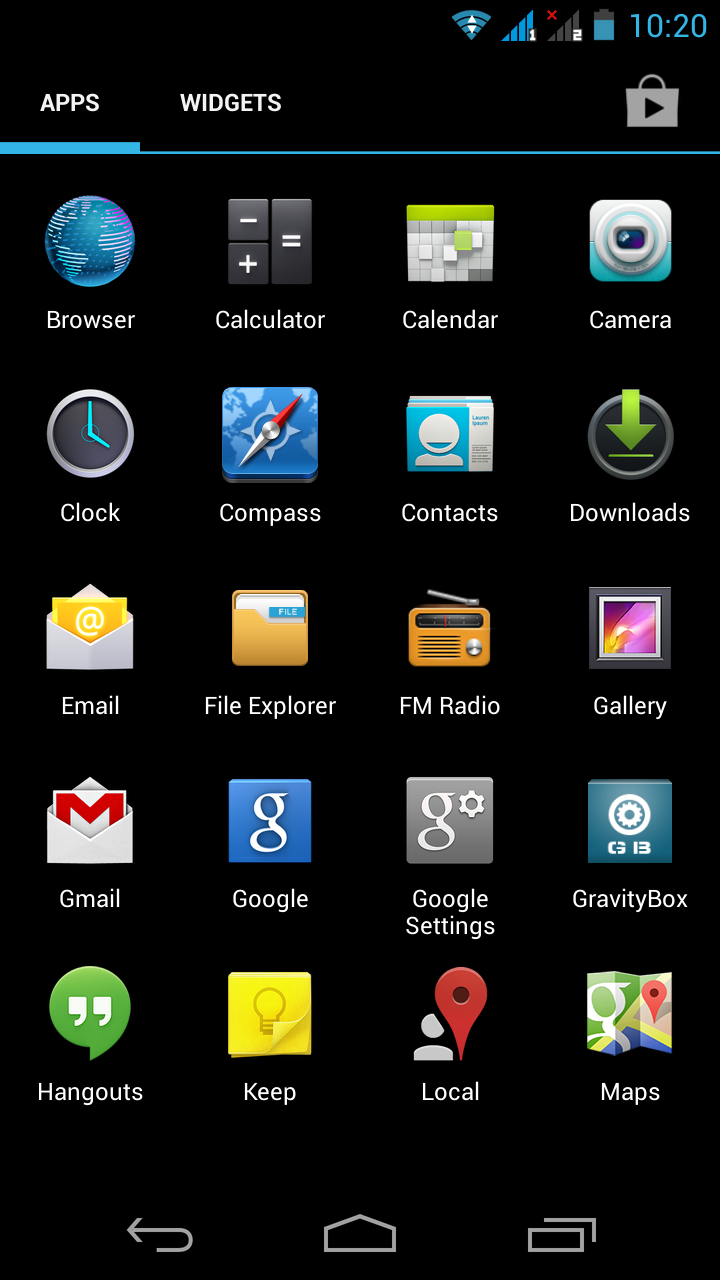
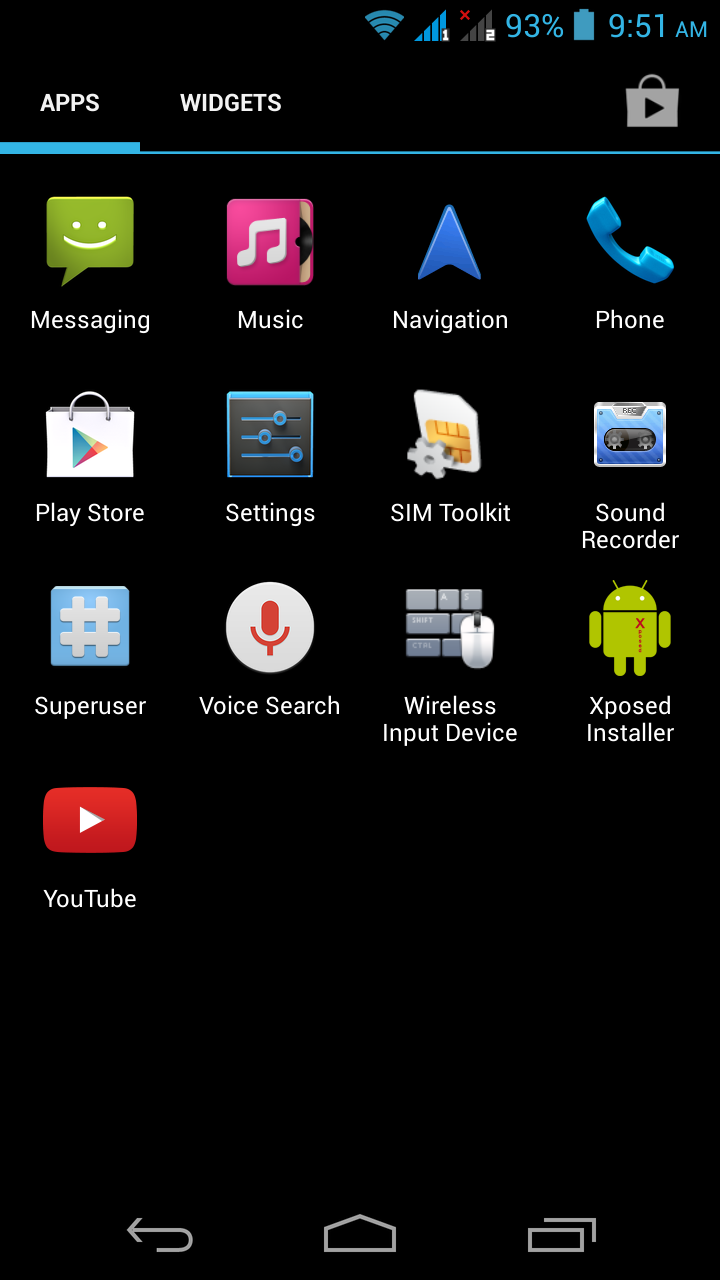
Here is the result after flash :

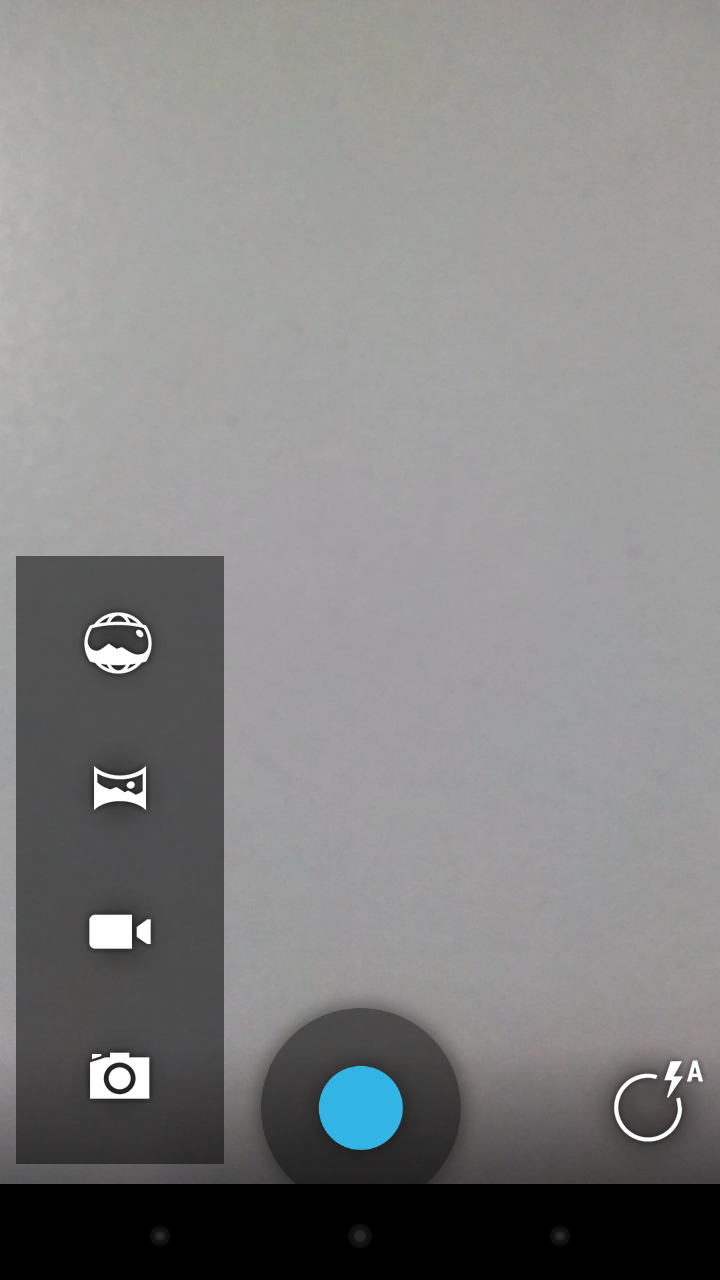
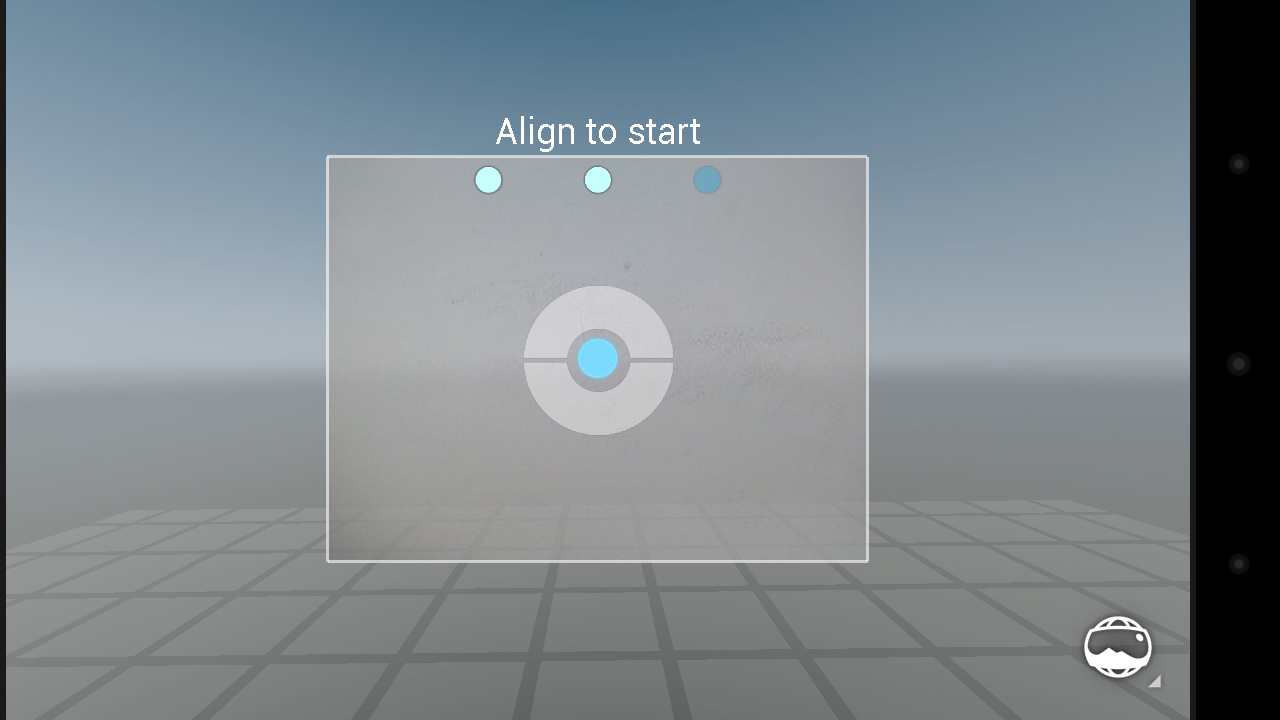
Camera 4.2.2 and Photosphere
I believe many of you already knows this photosphere feature which introduced by google since nov 2012 with their API-17 4.2 series, but for you who don’t know what the hell photosphere is, picture says a thousand words, see this sample photophere.
I’m not including this photosphere camera apps in the custom rom for several reason, first, because the stock camera apps is already pretty good and had a nice and many features such as FX filter and etc. Secondly, i don’t like double camera and gallery apps on the custom rom since it will confuse many users when opening pictures or videos.

I create separate update zip file for you who wants to try or likes this feature.
Here we go the update zip :
Download : signed_camera-4.2-update.zip
Flash it like you just did with the custom rom, go to recovery mode, select install, choose the zip file and reboot after done. After install this update.zip, you’ll have 2 camera apps and 2 gallery apps, you can only take photosphere picture with the new camera apps, and play the photosphere picture with the new gallery apps, i repeat once more, the previous camera apps is not capable to take photosphere picture and the previous gallery apps will not recognize any photosphere picture.
If this is your first try using photosphere, please spend some time to read this Nexus tutorial how to create a great photosphere shot. if still not sure, see this video too. You may also see other photosphere pictures from around the world from this Google communities page.
Enjoy your PICOpad GDS